Download and install Visual Studio Community Edition
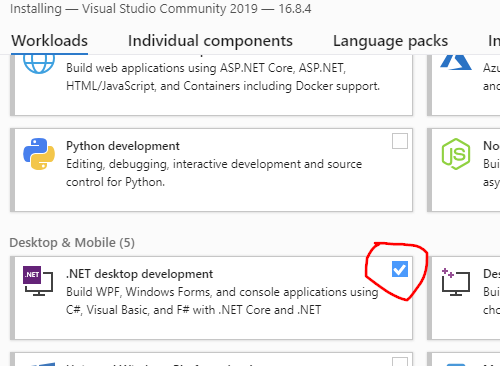
When running the installer it will ask which components are required, the only one you have to choose for Jellyfin development is .NET Desktop Development:
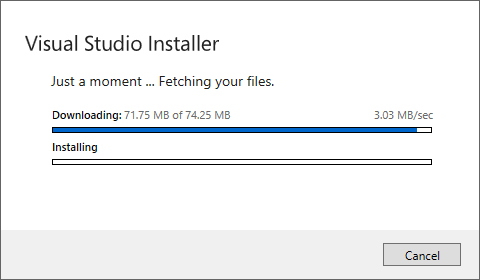
The install will be close to 6GB so may take a while.
While it is installing you can install FFMpeg, this isn’t technically required to get Jellyfin to run whilst you develop, for example if you are only working on a metadata plugin you won’t need the server to transcode anything, but if you do need make sure items play then it is best to install FFMpeg.
Whilst you can build ffmpeg from source it is easier (at least for this guide) to pick up the latest package from https://www.gyan.dev/ffmpeg/builds/. Extract and place the output folder somewhere you can remember (I put mine in a tools folder under my C:\Users/paul/source dir).
Node.js and Yarn will be required to compile the jellyfin-web project. Install the latest version of Node from https://nodejs.org/en/
Once Node is installed, you can easily add Yarn using npm:
npm install --global yarnHopefully by this point Visual Studio will be installed, the Community Edition is free if you sign in with a Microsoft Account, or else it expires after 30 days. So best to sign in and then we are ready to start on getting a running version of Jellyfin built from source.
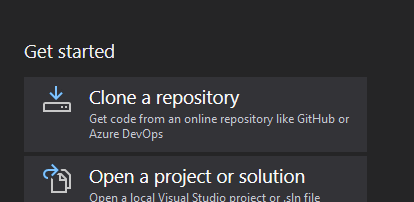
When Visual Studio opens it gives you the option to Clone a repository, which is exactly what we are going to do:
Clone the repo from:
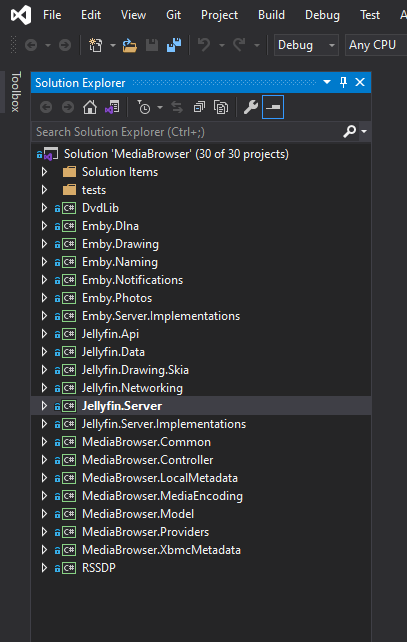
git clone https://github.com/jellyfin/jellyfin.gitOnce the cloning has finished you should end up with a list of all of the projects that make up the complete Jellyfin Server solution:
It is possible to build the solution, at this point, but currently it won’t run as there is no front end for the server to communicate with so let’s fix that.
Firstly we need to clone the repo for jellyfin-web, you can do this either from within Visual Studio, or on the command line:
git clone https://github.com/jellyfin/jellyfin-web.gitIf you cloned the repo from within VS then you will need to open a command prompt within the jellyfin-web directory and install all the modules required:
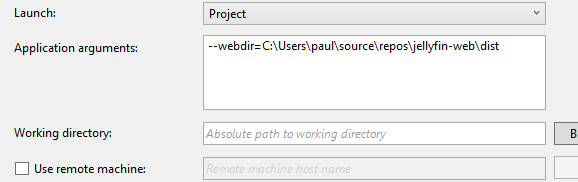
yarn installIt should now be possible to get Jellyfin up and running with the web ui. Firstly though, we have to tell Jellyfin where the web project is so it can use it. There are several ways to do this, but I am going to add a cmdline argument for when the server starts up.
Within VS open the Jellyfin.Server project properties pane:
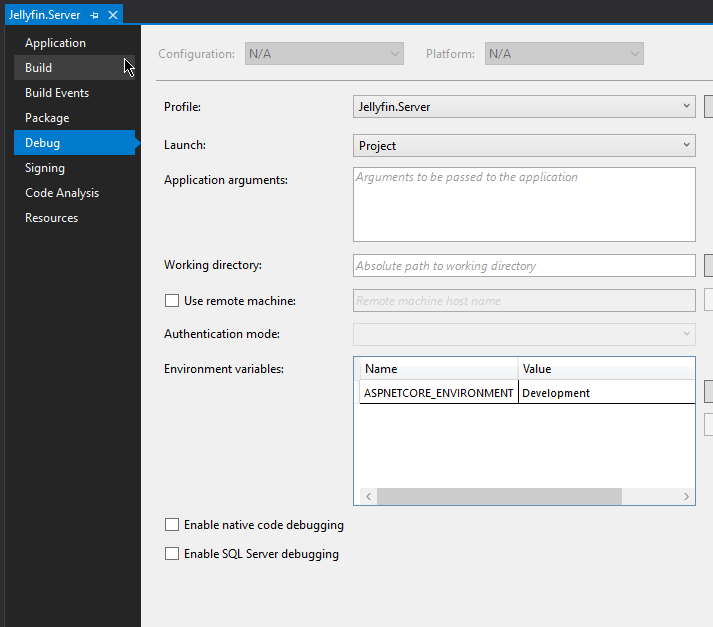
It is also possible to add an Environment variable here, but for now add the path to the dist folder within the jellyfin-web source to the Application arguments section:
The final thing that needs to be done before we can run the whole system is to install development SSL certs to allow the system to work on HTTPS. Install them from the command line with:
dotnet dev-certs https --trustSelect yes to install the cert from the resulting pop-up.
If everything has gone according to plan then running the project and opening your browser to https://localhost:8096 should present you with the setup wizard for Jellyfin:
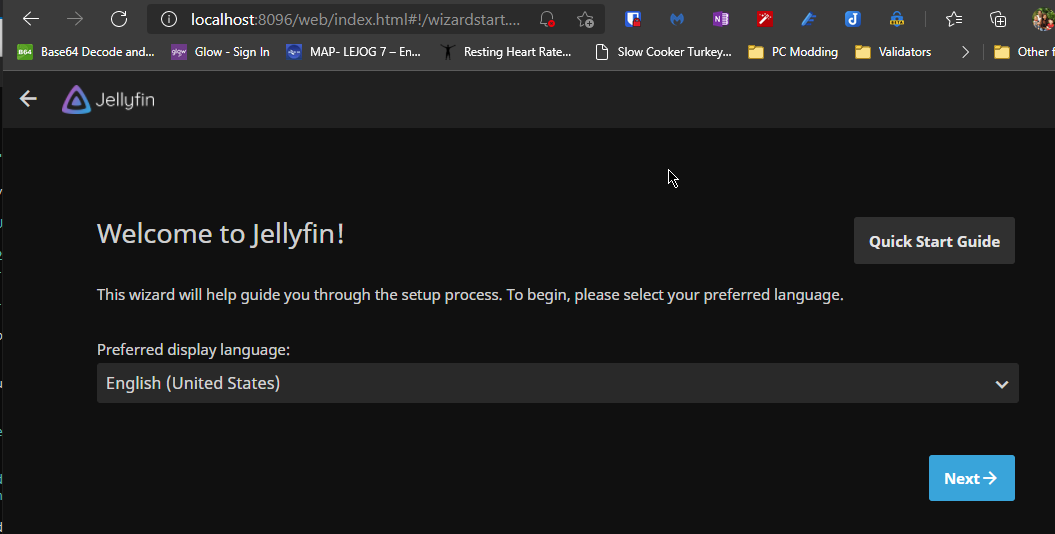
Complete the setup wizard and add a library, at this point you may find that videos will not play as you need to tell Jellyfin where to find ffmpeg. In Dashboard->Playback add the location to the version of ffmpeg you extracted earlier.
With that done you should now have a fully functioning Jellyfin development environment.
Next we will look at how to get a simple plugin working and how we can debug it.