Why am I doing this
I have 2 Yi Home 1080p camera’s in the house which I have used in the past for checking on kids getting up in the night, security etc. However, they are tied to the Yi Home app which is fine for basic functionality, but there are a lot of limitations.
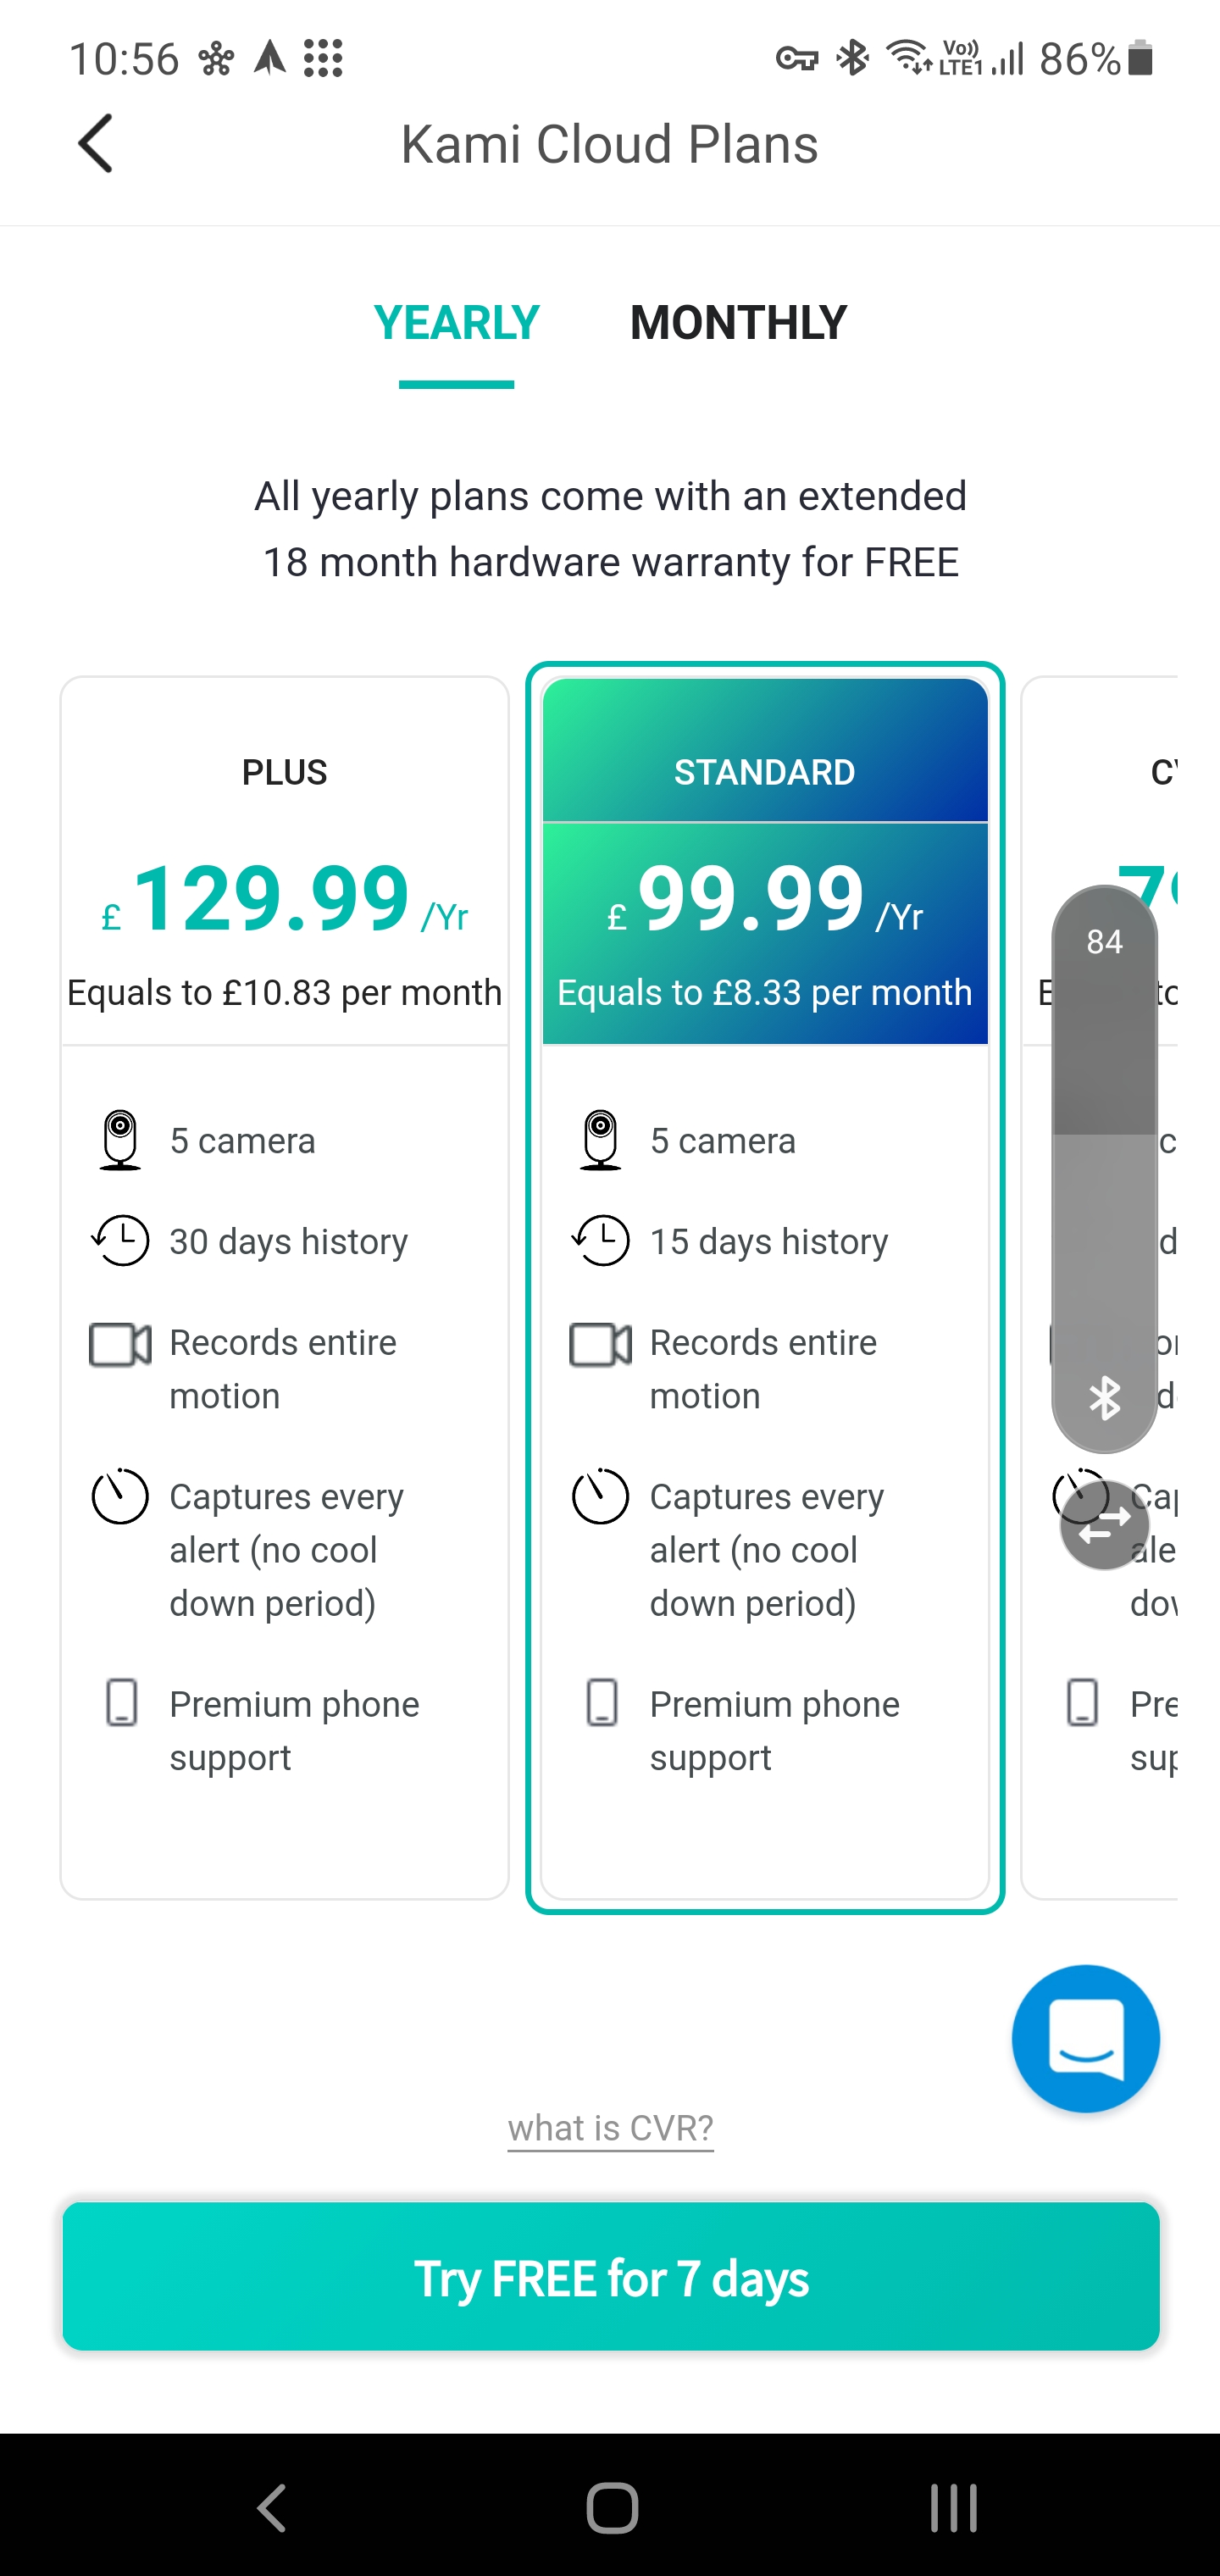
To get the full experience you need to sign up for the Kami Cloud Plan so you get full length recordings, retention and all the other things you might need. This, obviously costs money, £100 a year or £12 a month if you want more than one camera which seems a bit steep for me as I don’t need to use them every day, and I don’t need the cloud integration either.
There must be a self-hosted option, and there is! Motion is an open source Network Video Recorder (NVR) which has a web front end Motioneye which can be integrated with Home Assistant (HA).
By utilising this setup I will be able to get all of the functionality of the cameras without an ongoing cost and I will hopefully learn something along the way.
Upgrade the cameras
To be able to get the Yi Home camera’s to work with Motion their firmware will need to be modified. That might sound scary, but it is quite easy, and the camera’s will still work with the Yi Home app too.
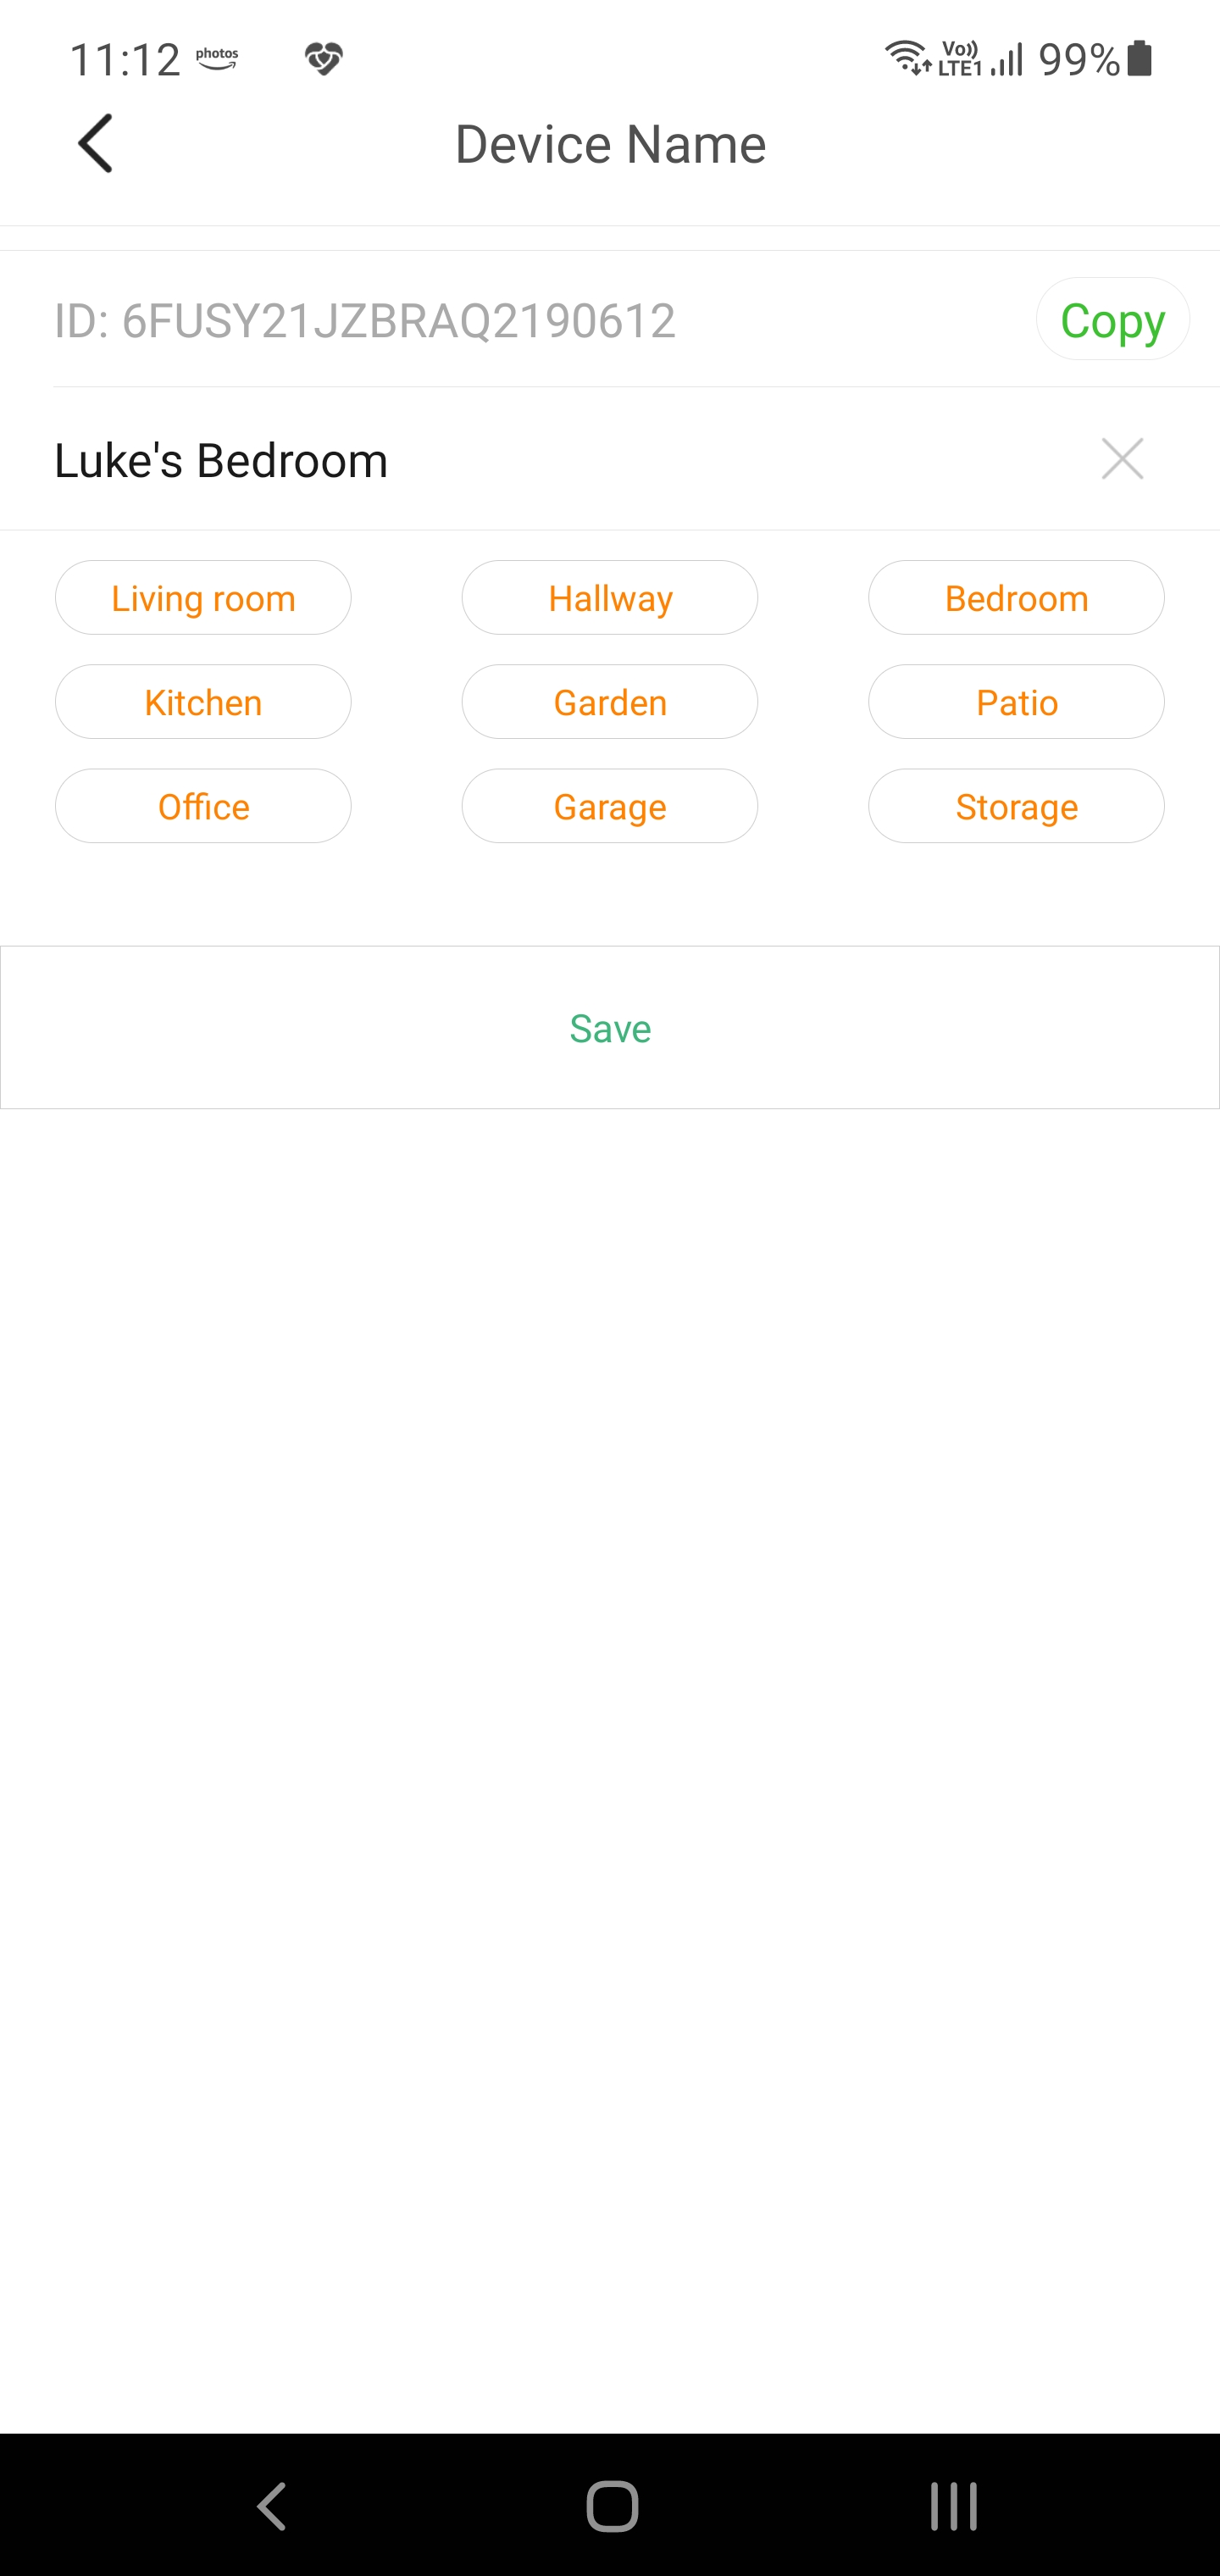
To perform the upgrade firstly find the serial number of the camera using the Yi Home app.
Now we need to check the support page for the new firmware to see if the camera is supported.
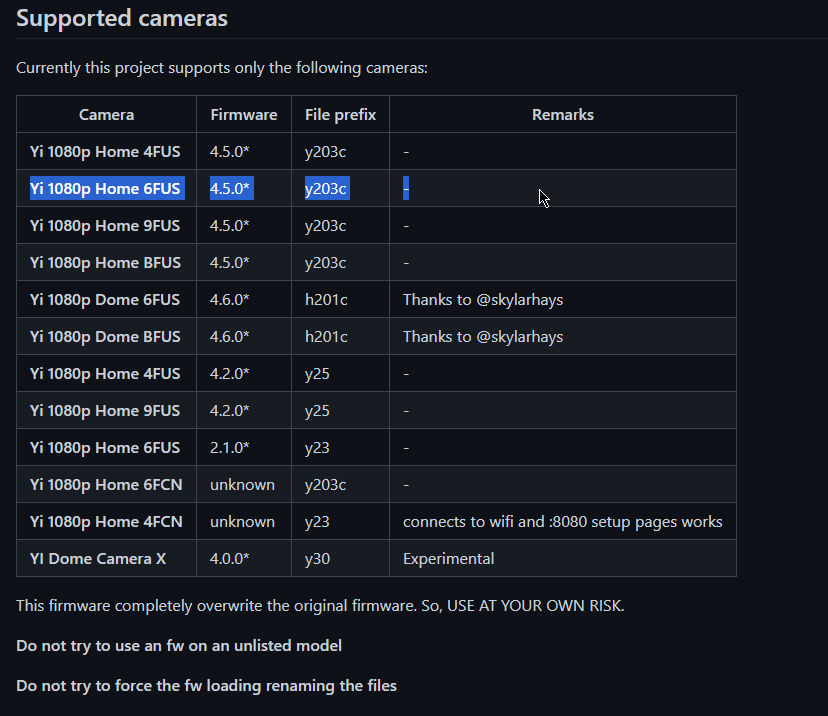
If the camera is supported then download the correct file given in the Supported Camera table.
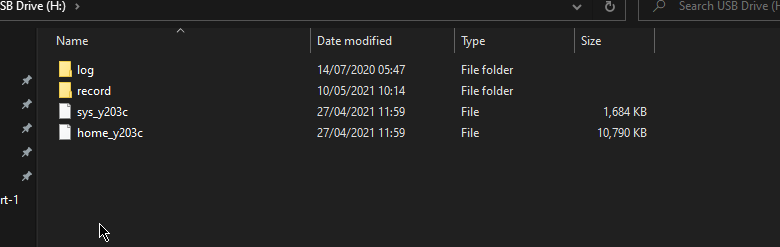
Follow the instructions given on the firmware page (Extract downloaded files and place in root of MicroSD card) and then startup the camera.
Once firmware has been uploaded successfully, check in the app that it has reconnected to WiFi and what the new IP address is (if everything has worked correctly then the camera will show up in the Yi Home app which will give the IP address). Navigate to http://camera.ip:8080
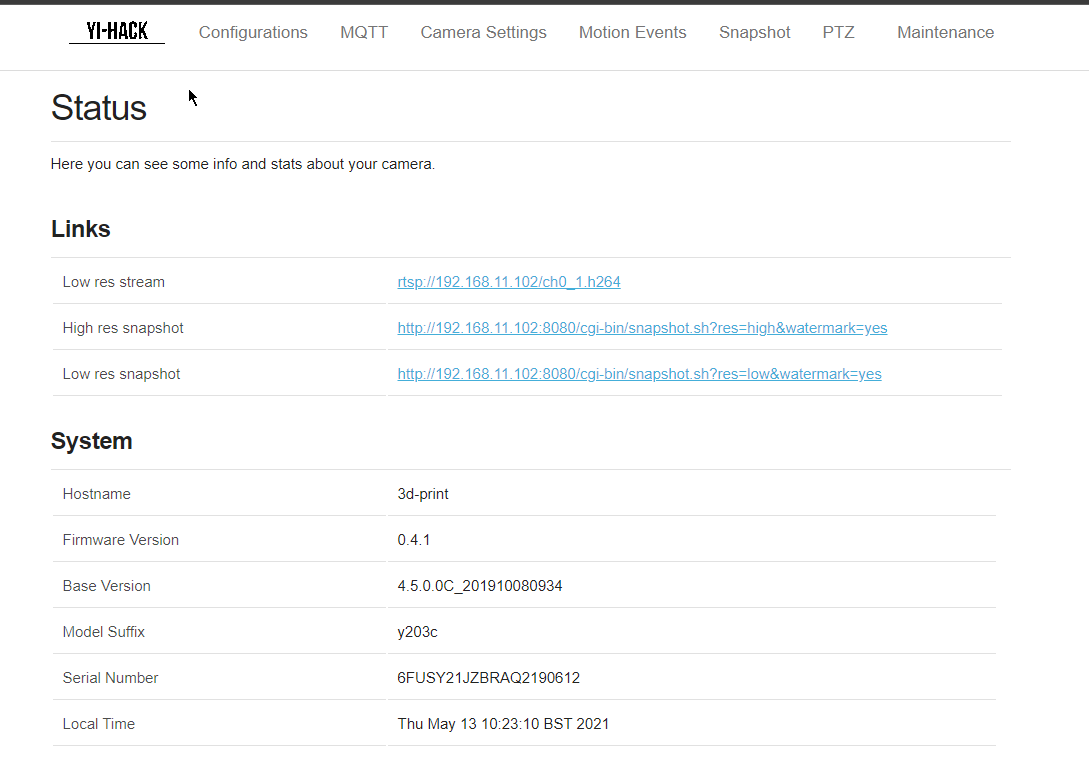
Now set username and password (root password is used for FTP). Also take note of the High/Low Res stream URL as it will be needed later.
From the HA Yi Home Camera Integration there is a note about issues with FTP. Read the warnings and determine if they apply to you. If using the same camera as I am then you need to telnet/ssh into the camera and run the command:
ln -s /tmp tmpTo integrate the camera into HA without using motion it can then be setup by adding the following to configuration.yaml
camera:
  - platform: yi
    name: Camera
    host: "192.168.1.100"
    password: my_password_123
Restart HA and the device should appear in the dashboard:
It’s not much use on its own as it just shows the feed. Hook it up to Motion and then motioneye to be able to record video, timelapses etc.
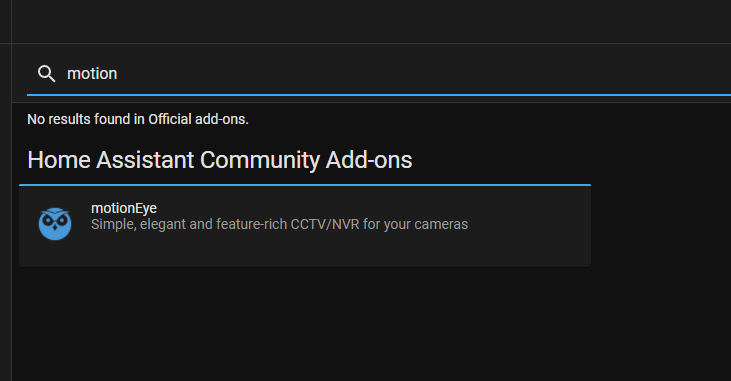
Motioneye install
An add-on has been created that can be installed through HA Supervisor->Add-on Store for Motioneye:
Once installed I only had to start the Add-on, there were no changes required to the configuration, although there are options, I suggest reading the documentation to see if there is anything you want to change.
By enabling the Show in Sidebar the interface can be accessed directly from within HA.
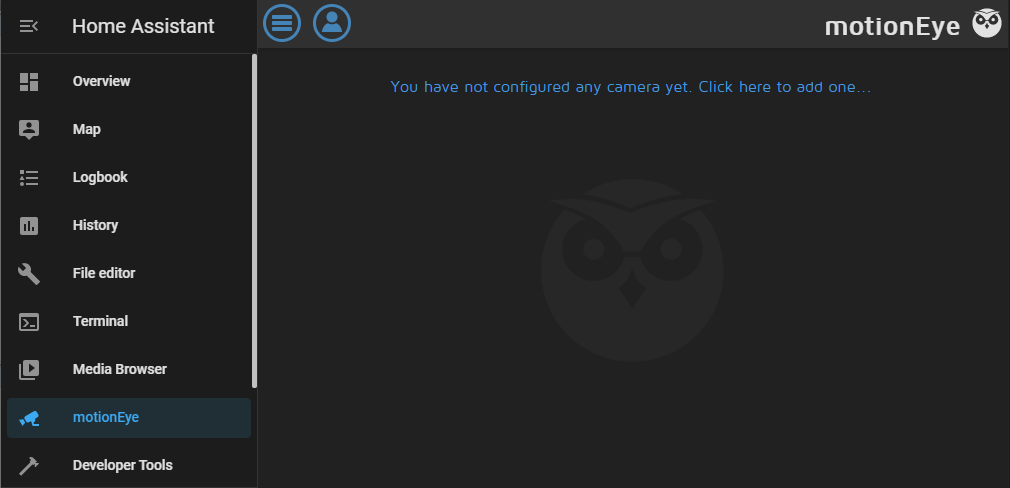
To add a camera click on ‘You have not configured any camera yet’.
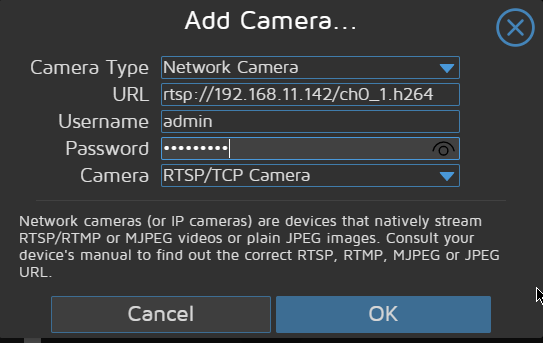
Select ‘Network Camera’, add the RTSP stream URL noted from above and add the username and password setup during the camera install. If Motioneye can’t connect to the camera you will get an error message, if it can then a new box will appear for it being TCP or UDP, I left mine on TCP.
The camera should now show up on the interface with a bunch of options that can be set to actually make the camera useful.
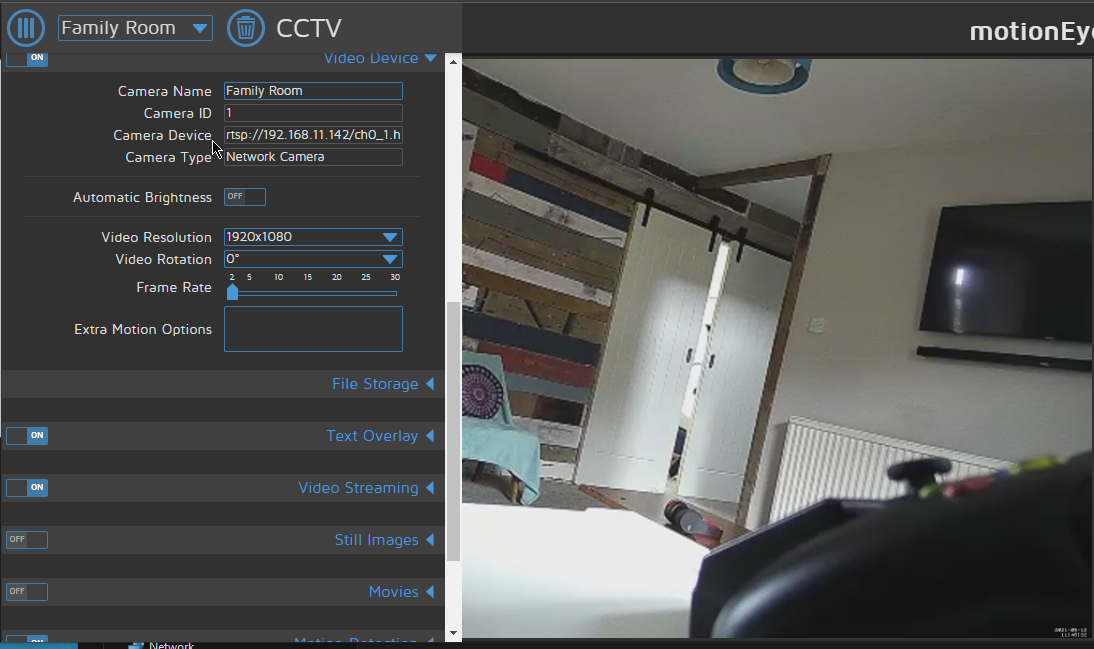
To make my camera work as I wanted to I changed the following:
- Changed the resolution to 1080x1920
- Changed file storage to point to an SMB share on my NAS
- Set Movie Passthrough On
- Retention to One month
- Maximum movie length 30 seconds
- Set working schedule from 21:30 to 07:00 and only capture in that schedule
There are many other options, maybe you only want to store images and not movies. Take a look over them and there is plenty of documentation online about what they all mean.
There are options for notification which can be tied into HA. I haven’t gone down that route yet as I don’t need to be notified in the middle of the night one of the kids is out of bed, but I may set it up in the future.
Add Motioneye to the HA dashboard
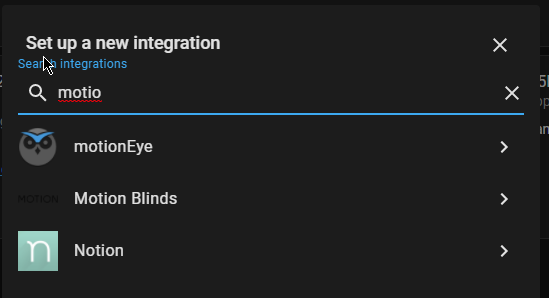
To be able to view the camera streams in a HA Lovelace dashboard then add the Motioneye integration.
To configure it correctly the URL needs to be set to http://127.0.0.1:28765
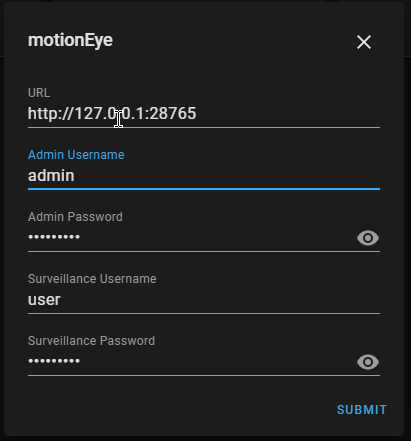
The config of the Motioneye add-on has SSL set to true, but I couldn’t get it to connect using https, but standard http worked fine.
Assuming it is configured correctly then HA will discover the cameras configured within Motioneye and ask for their location.
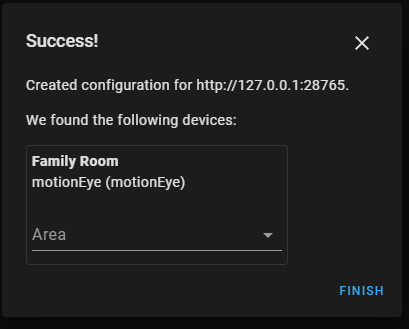
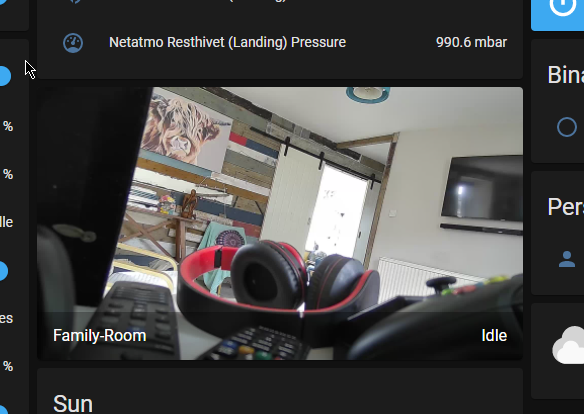
They can then be displayed within your HA dashboards.
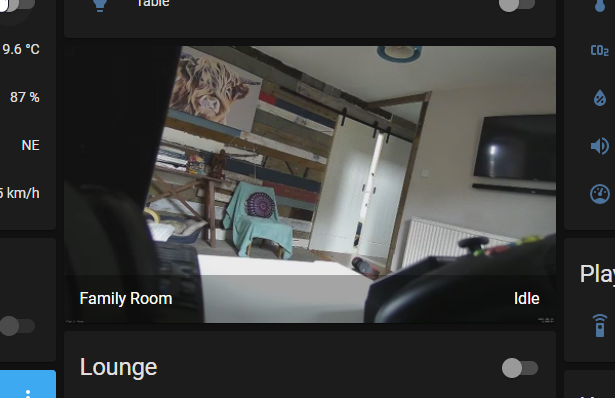
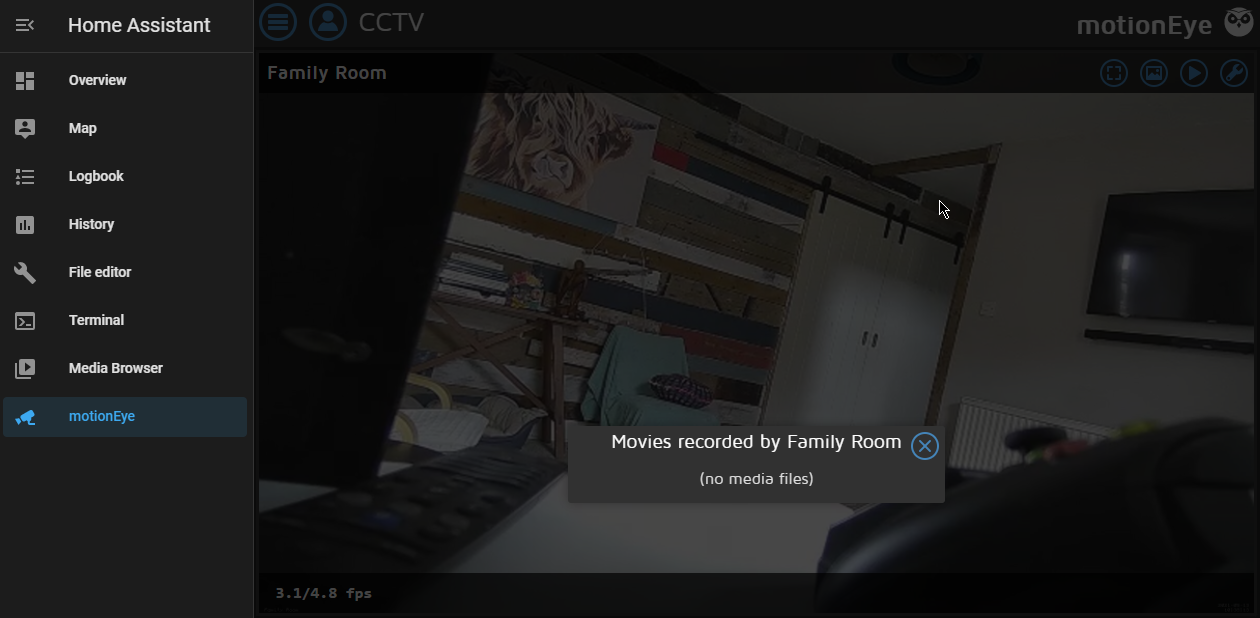
The feeds don’t really do anything at this point in the dashboard, but by having the ability to access motioneye from within the HA menu system means I can view videos and images that have been captured.
Conclusion
Overall, it is a pretty straight forward process to get one of these cameras setup and then connected to HA through Motioneye.
There are a couple of fiddly bits, but nothing too complex. I am happy so far with how it is working, although my needs are minor, trying to detect if one of the kids gets up in the night to try and watch Plex!
I also have only one camera setup, maybe there would be more issues with multiple ones, and also getting notifications from HA might be tricky, I haven’t tried so cannot say.
This has given my cameras a new lease of life and I plan to use the other one I have kicking about with Octoprint for timelapses of my 3D prints.